Wednesday, October 2, 2013
My little studio and a line of tape on the floor.

My studio measures eleven by twenty feet. That's big enough for me. If I were doing portraits or figures I would need more space, but for what I do it works just fine. I start all of my paintings outside, the studio is where I operate on them when they come home.
My studio is a miniature version of one I had in the seventies in the historic Fenway Studios building in Boston. The studio is the former garage next to my house that I have reworked. I removed a roll up door on steel tracks and closed up the hole where it had been. The garage had a cement floor and bare wooden studs for walls.There was a low ceilinged second floor above. I removed half of that and kept the back half as a loft area for my stretchers and failed paintings. The front half of the room where the easel is has a 14 foot "cathedral" and dormered ceiling. There is another set of small french windows set into a dog house dormer above the window in the photo, so I have lots of light. The studio is wainscoted in dark wood, extra high, and has oak floors. The floors take a real beating because this is a workshop. The windows are true divided lights and also stained dark walnut like the rest of the woodwork. The walls are linen white. The walls go up so high that all that white counterbalances the dark wood and keeps the studio from being darker than the inside of a cow.
For me, a north light studio is essential. The studio is a big light box, like a camera, there are no other windows on the sides of the studio so the light only comes from one direction. North light is unvarying over the course of a workday, any other direction and the sun will strike into your studio. That would mean that if you painted a still life, the shadows on the objects would move over the course of the day. Under north light they do not. I don't paint still life, but the glare of full sunlight streaming through a studio window makes it hard to work. I want soft, cool, and even natural light. Late in the day I do get a little direct sun beaming in, and I take a break as the bright parallelograms cross the walls behind me.
My easel has a simple homemade rack sitting on it that has a 1"by4" extension six feet long. I can place two 24" by 30"s next to one another, The rack takes the level of the tray of the easel up about 2 feet, I like that because I am tall. Also sitting on the tray of the easel is a three by four piece of plywood to which I can tape photos of paintings that I find inspiring, or references. Above the easel on arms of carefully selected #3 pine hang several fluorescent fixtures. I prefer not to paint under artificial light. Sometimes I have to work at night to get things done, so I have them. Studio lighting can be set up much better, but I get by with this. I don't want to mount any light fixtures on my window wall, it wouldn't look pretty.

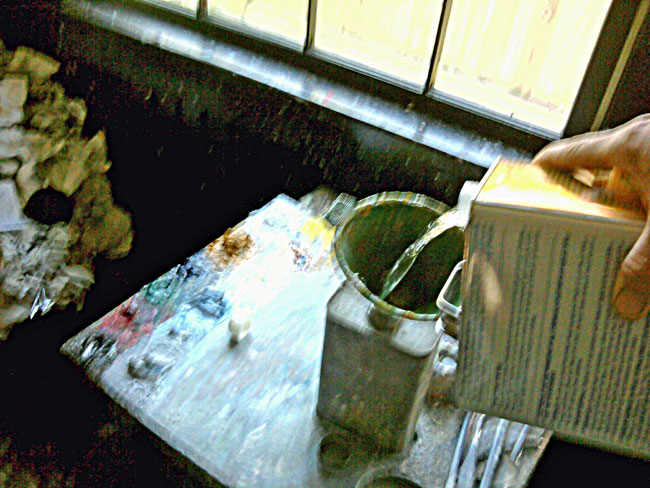
Here is a closeup of my taboret, the table on which a painter sets his palette when he works. Mine is a very heavy homemade cabinet full of drawers, upon which a key grinding machine once lived in a Maine hardware store. Steel casters allow it to be shoved about as needed. I want it to be heavy so it is stable. On one side of the taboret is a hook where I hang the backpack I use outside, so whatever I keep in that bag is close at hand.
My open paint box is on the sideboard behind me. I have only one palette and paintbox. When I come in from outside, I take the palette out of the box, and set it one the taboret. The dozen or so drawers on the right hand ( not visible) side of the taboret hold paint that I buy in quantity and tube myself. That adds weight too. The top of the taboret is heavy oak and will withstand great abuse. I use it like the bench in a woodworkers shop when the palette is removed.
On the floor is a cheap rug from Home Depot which I replace every few years when it gets too splattered with paint to be presentable. On that rug about five feet away from the easel is a piece of masking tape.
I paint from two different points in my studio.
If I am doing small or tightly detailed work I stand right at the easel. I almost always work standing. But when I am finishing full sized paintings that I have started outside I stand back from the easel on the taped line. I observe the painting from this point, I mix the note on the palette beside me, and then I walk up to the easel and make my brushstroke(s). Then I return to my distant observation point again. Doing this causes the paintings ideal focus to be out about five feet from the canvas. That makes a big difference in the way a painting looks and helps me keep a more impressionist look in my pictures.
I have found I get better results if I stand back from my easel. I get a broader looking picture if I work from this distance. It also seems quicker to me, I do try to use the largest brush I can and at that distance working in bigger marks is easier. It really does make a big difference in the way a painting looks. The distant viewing station gives a more impressionist and looser look than standing right at the canvas.